How easily can you make a Raspberry pi sound level meter that measures sound level in decibels? This article will walk you through the process of interfacing our I2C sound level sensor module and making an accurate Raspberry Pi decibel meter using a few lines of C code to read sound levels in dB SPL.
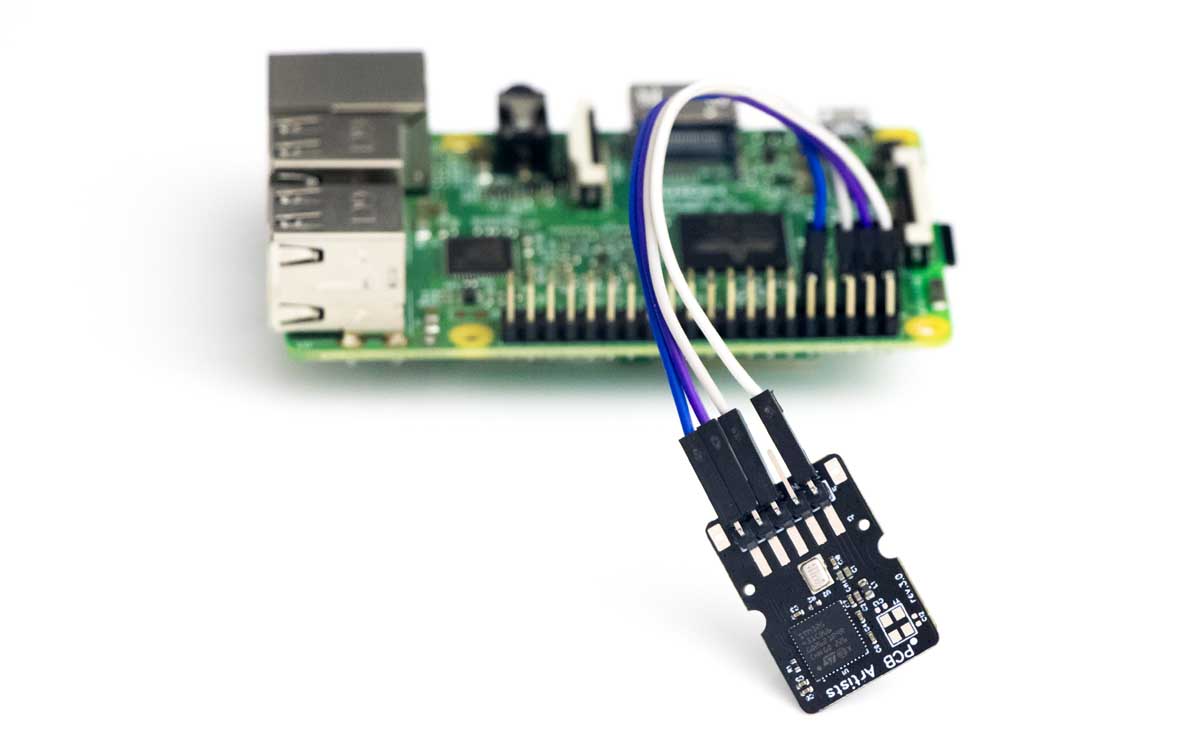
Two ways to make a Raspberry Pi dB Meter
A more direct method, although not very efficient, would be to get a sound card or a Raspberry Pi HAT with microphones and an audio codec on it. The Raspberry Pi will then record the audio coming in from the HAT and perform the required steps of converting the audio into frequency domain and applying weighting filters to arrive at a final decibel value for the sound input.
The inefficient approach - using audio HAT or microphone input
Audio codec HATs for the Raspberry Pi are quite common and you can pick one to act as a sound card for your R-Pi. Yuri’s noise level dashboard project on Medium does exactly that. Codec Zero is yet another popular audio HAT for Raspberry Pi. However, the problem of using this approach become clear pretty quickly.
- The Raspberry Pi 3B CPU runs at almost 20-30%, just crunching numbers to extract a decibel value.
- Just based on the CPU usage pattern, power consumption will be very high. The codec boards consume little power, but the CPU tends to run hot.
- Raspberry Pi cannot be put to sleep between measurements if it is responsible for the measurement and processing itself – sound level triggered wake-up is not possible.
- A codec or audio hat can take up several GPIOs on the Raspberry Pi header that cannot be used elsewhere.
- Difficult to calibrate, connect and use HATs because they can be bulky and off-the-shelf. The microphones they use may not be optimal for measurement purposes either.
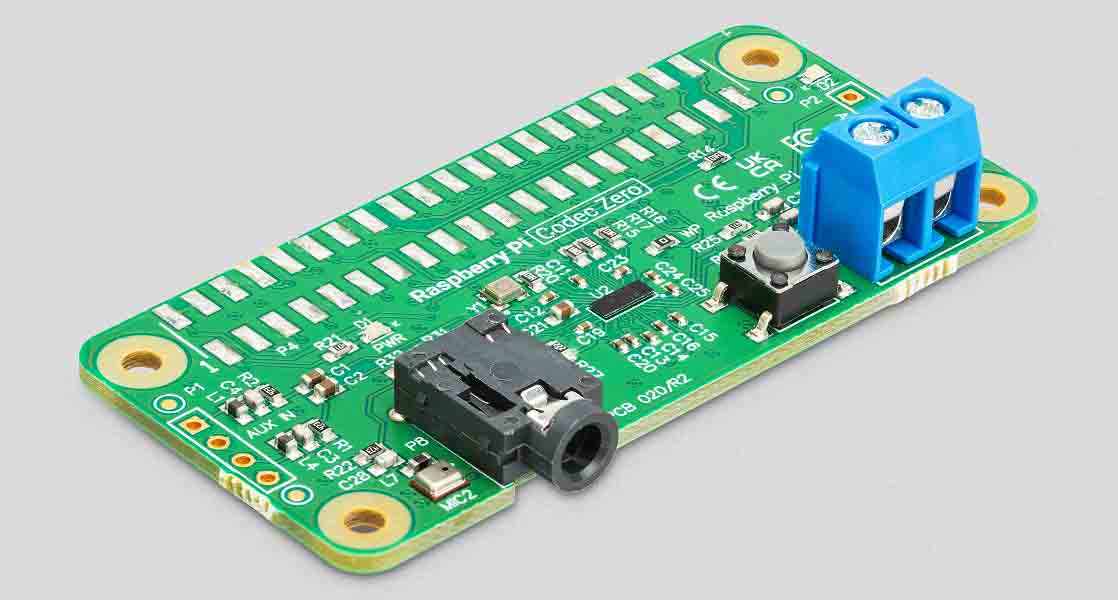
The efficient approach - using a sound level measurement module
To solve all the above problems that would make most Raspberry Pi sound level monitooring applications impractical, the alternate approach would be to use a dedicated module for sound level monitoring and measurement in decibels. The PCB Artists module does just that and provides unique features that can make your Raspberry Pi decibel meter application extremely easy to set up.
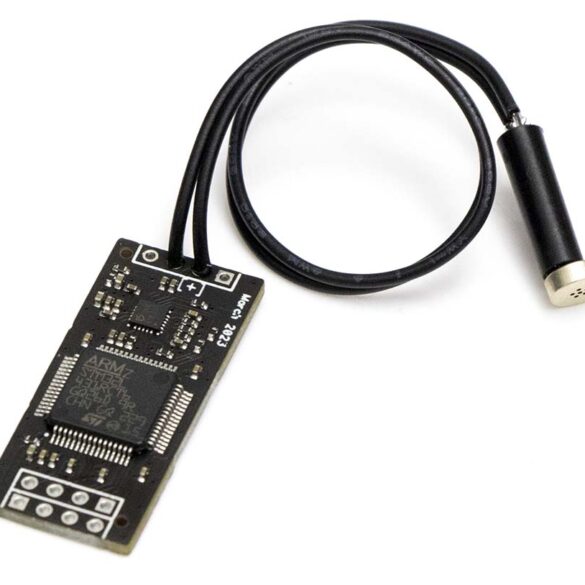
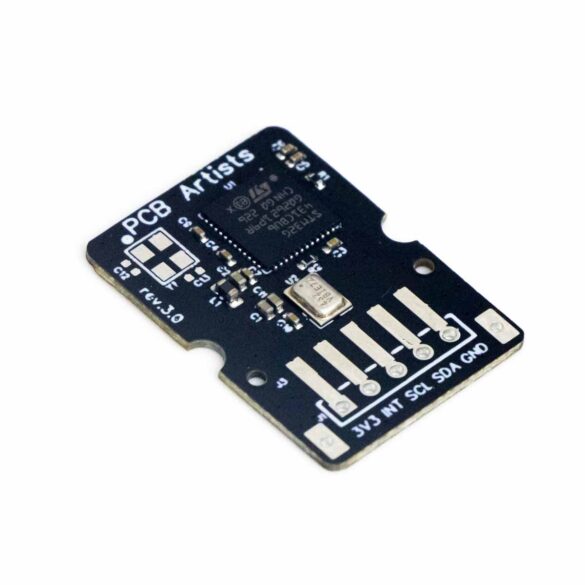
The PCB Artists decibel sound level meter module contains a dedicated ARM Cortex M4 MCU with hardware to accelerate and efficiently perform mic response compensation, filtering, frequency analysis, weighting and averaging operations on an input audio stream. This offloads the Raspberry Pi completely and all it has to do is fetch the latest decibel values from the decibel meter module using I2C interface.
- 0% CPU use because the Raspberry Pi does not need to perform any processing. The module will even store 100 most recent samples!
- Raspberry Pi can sleep and be waken up when audio level crosses certain low and high thresholds.
- The decibel meter module only consumes 5mA at 3.3V when running continuously.
- You only need to connect I2C SCL and SDA pins to use the module. The interrupt output of the module may be used if required.
- You can obtain accurate and repeatable sound level values and easily locate the microphone anywhere.
Connect decibel sensor with Raspberry Pi
Connecting Raspberry Pi and the PCB Artists decibel level sensor is very easy. All it needs to work is a 3.3V power supply, GND and I2C signal lines. Other features of the module such as the interrupt pin may be left unconnected when not needed.

If you follow the connection diagram shown above, the decibel sensor is now connected to I2C1 of the Raspberry Pi.
Testing the sound level sensor
Testing the sound level sensor is easy. Once you have connected the module to Raspberry Pi, you can follow these steps to ensure that the module is functional.
- Make sure that I2C interface is enabled in the Linux image that you are running on your Raspberry Pi, especially if this is a fresh installation.
You can enable I2C interface by following this article. - Once I2C is enabled, keep following the above article until the end, run i2cdetect -y 1
If the decibel sensor is properly connected, you should see address 0x48 highlighted. - Make sure I2C tools is installed
sudo apt-get install -y i2c-tools - You can simply fetch the decibel sound level reading by fetching register 0x0A of the module using command
sudo i2cget 1 0x48 0x0A - The decibel value read from 0x0A after module power-up is the A-weighted and 1 second averaged sound level reading in db SPL.
You can change these settings in the sound level module.
C code for reading sound level in decibels
The example decibel meter C code provided here serves as a simple example and demonstration to show how easy it is to fetch noise level values from the PCB Artists sound level meter module.
The code shared below simply opens I2C1 port, connects to the sensor over I2C address 0x48 and then fetches the decibel reading from address 0x0A.
The default settings can be changed by writing to the configuration registers of the decibel meter module. On power-up, default weighting is A-weighted and averaging time is 1 second (or slow mode, as sound meters call it).
These default settings provide optimal performance in most indoor and outdoor settings.
#include <stdio.h>
#include <stdlib.h>
#include <time.h>
#include <fcntl.h>
#include <unistd.h>
#include <linux/i2c-dev.h>
#include <sys/ioctl.h>

int main()
{
	int file;
	char data;
	time_t rawtime;
	struct tm *timeinfo;

	// Open I2C1 for reading the sound meter module registers
	if ((file = open("/dev/i2c-1", O_RDWR)) < 0)
	{
		perror("Failed to open I2C1!");
		exit(1);
	}

	// 0x48 is the decibel meter I2C address
	if (ioctl  (file, I2C_SLAVE, 0x48) < 0)
	{
		perror ("db Meter module is not connected/recognized at I2C addr = 0x48");
		close (file);
		exit (1);
	}

	while (1)
	{
		// Decibel value is stored in register 0x0A
		data = 0x0A;
		if (write (file, &data, 1) != 1)
		{
			perror ("Failed to write register 0x0A");
			close (file);
			exit (1);
		}

		if (read (file, &data, 1) != 1)
		{
			perror ("Failed to read register 0x0A");
			close (file);
			exit (1);
		}

		time (&rawtime);
		timeinfo = localtime (&rawtime);

		printf ("%sSound level: %d dB SPL\r\n\r\n", asctime(timeinfo), data);
		sleep (1);
	}

	close (file);
	return 0;
}
Building the decibel meter C code
You can build and run the C code on any Raspberry Pi board using the default official Raspberry Pi OS image.
- Copy the C code over to the Desktop or any location of your choice. I named the C file as dbmeter.c
- Open the command terminal and go over to the C file’s location
cd Desktop - Build the C code using the native GCC compiler on Raspberry Pi OS. The resulting executable file is to be named dbmeter
gcc -o dbmeter dbmeter.c - If everything compiles correctly and no errors are found, dbmeter will be generated and you can execute it
./dbmeter - If the Raspberry Pi decibel meter module is correctly connected to I2C1, you should see the decibel value and timestamp printed out every second.
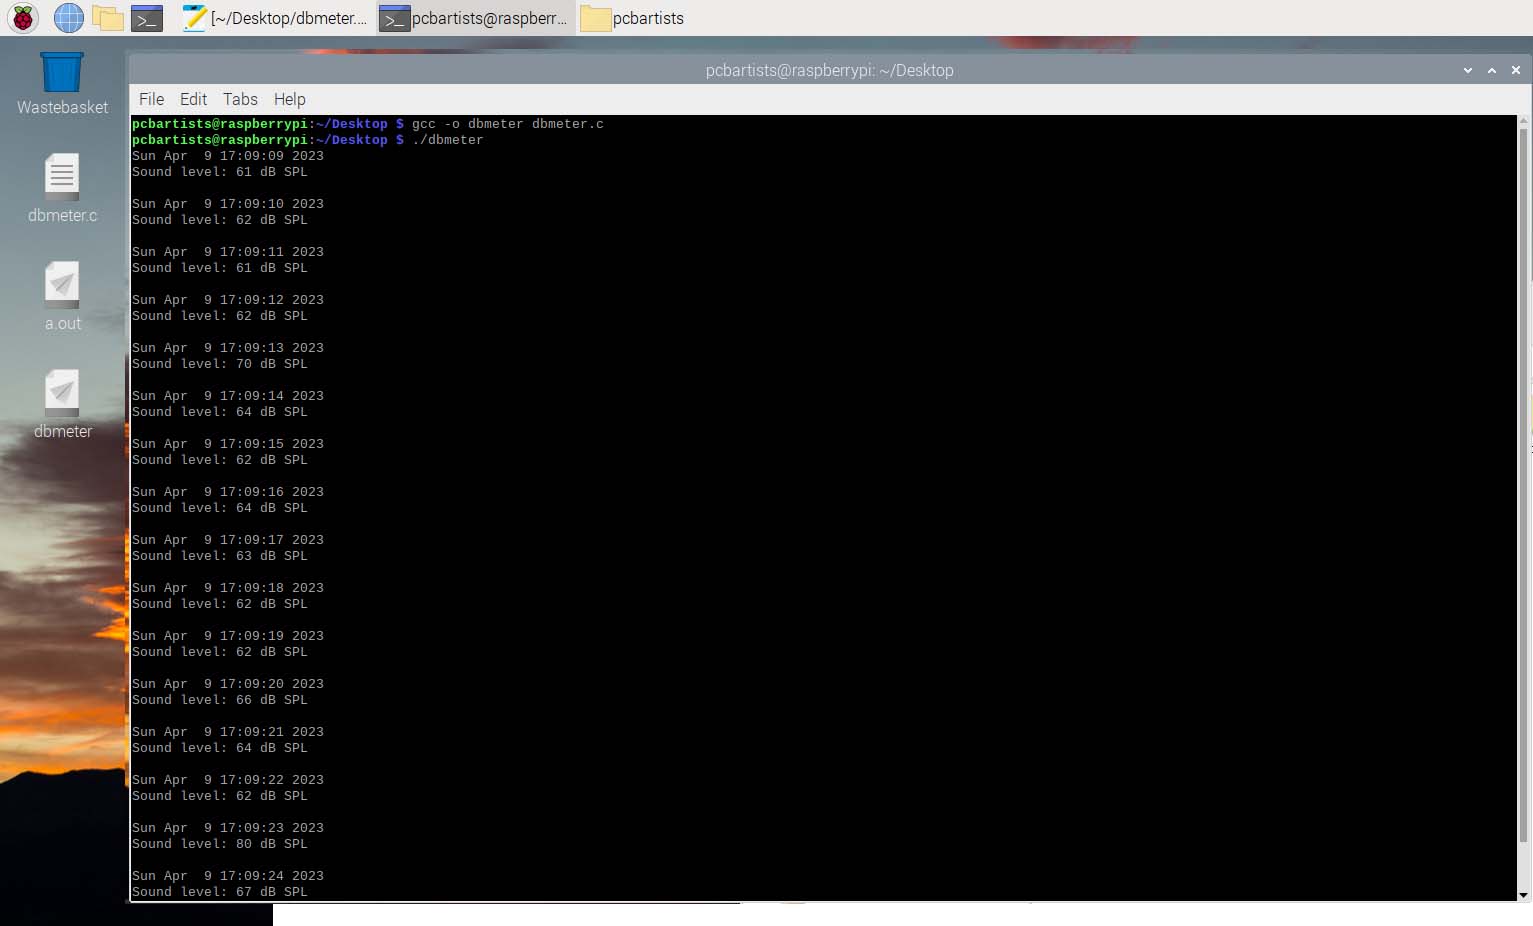
You can use the module in several applications such as indoor home or office noise monitoring or outdoors for crowd or traffic detection. The interrupt based wakeup feature can help wake the Raspberry Pi up when the measured sound level falls below or goes over set threshold values.
This enables Raspberry Pi to be used in low power battery operated sound level monitoring applications as well.
Buy the Decibel Sound Sensor Module
The sound sensor module is available to buy on our web store. You can find more information and example project links on the product page. We ship worldwide.
Change Log
- 17 April 2023
– Initial release - 6 May 2023
– Update product link and images
2 comments
Hi !
Happily put the sensor on a Raspi to make a fun device, details here if interested : https://www.reddit.com/r/raspberry_pi/comments/1moiw8k/raspberry_pi_decibel_monitor_snmp_instant/
I didn’t use the INT pin and was wondering how to use it. Your doc says : “The interrupt function is disabled by default. If enabled, INT pin goes low when an interrupt is pending.” How to enable ? And how to read that ?
Great application! You can enable the INT pin by writing to the CONTROL register and setting the INT enable bit. When INT is enabled based on level, the pin will go low when the sound level goes outside the bounds decided by THR_MIN and THR_MAX register values.